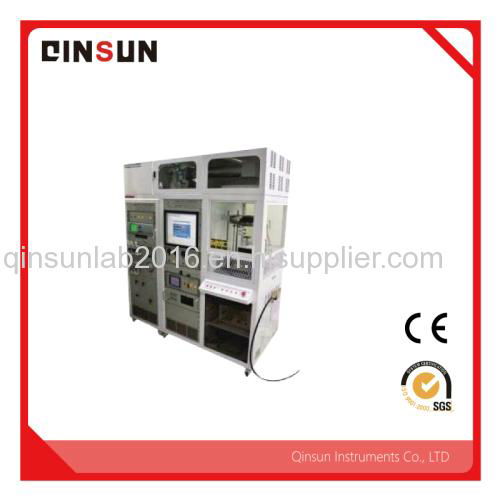
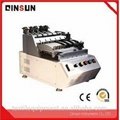
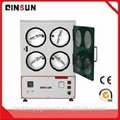
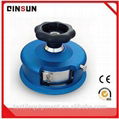
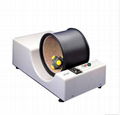
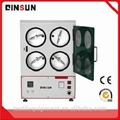
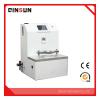
Scope: Cone calorimeter in the field of fire testing is the most important small test equipment.
product details:
Thermal release is the core measurement parameter when assessing material and product fire characteristics. The traditional method is difficult to measure the heat release, in recent years developed a large tester (such as furniture) using anoxia calorimeter technology, combustion test to produce heat, making the test heat release possible.
In the early 1980s, NIST employees (formerly NBS) decided to develop laboratory scale heat release testers to address the shortcomings of existing small heat release tests. The small test at that time used a method of measuring the enthalpy loss in a confined space. R & D found that hypoxia calorimeter is the best test method. This is based on empirical observations that the combustion of the material is always proportional to the amount of oxygen consumed in the combustion process. This instrument is called a cone calorimeter, the name derived from the truncated cone-shaped heater shape, the heater with 100 kW / m2 heat flow test samples.
The taper calorimeter can be purchased as part, so if the laboratory requires specific tests such as heat release, mass loss, smoke generation, etc., you can buy the required parts and then add the other instruments to the same test box and become the full specification instrument. This flexible feature is one of the many advantages of the cone calorimeter.
The complete system includes:
1. Conical heater - 230V, 5000W in the truncated cone, the heat output is 100 kW / m2
2. A device that tests levels or vertical samples
3.3 K class thermocouple and 3 PID temperature controller to control the temperature
4. Opening and closing mechanism - protects the sample area before testing to ensure that the initial quality measurement is stable. The operator can have extra time to perform the system test before the test starts. For flammable samples, if there is no opening and closing mechanism, it is easy to burn prematurely. This extra time is very important to the operator
5. Sample holder - sample size 100mm x 100mm, thickness of not more than 50mm, horizontal or vertical placement
6. Measuring element - Quality measurement Through the strain gauge load cell test, the accuracy of up to 0.01g. Equipped with quick electronic weighing parts, mechanical stop device to avoid damage caused by movement, given the stability of the results to ensure that the instrument longevity
7. spark ignition -10kV spark ignition, equipped with a safety ceasefire device. The igniter is automatically positioned by a lever connected to the closing mechanism
8. Exhaust system - stainless steel production, extended life. Including the cover, gas sample sampling needle, exhaust fan (flow adjustable, 0g / s to 50g / s, accuracy of at least 0.1g / s), and orifice flow tester (thermocouple and differential pressure sensor). Common tests are generally 24 l / s
9. Gas sampling - including particulate filters, cryogenic cold traps, pumps, dry cylinders, flow controllers
10. Oxygen analysis - paramagnetic oxygen analyzer, 0-25%, performance in line with standards
11. Smoke Smoke - Measured with a laser system, using photodiode, 0.5 mW helium-neon laser, primary and standby photodetector. At the same time with positioning bracket and 0.3,0.8 neutral density filter for calibration
12. Heat flow meter - used to set the radiation level on the sample surface
13. Burner Calibration - Calibrate the instrument to test the heat release rate using 99.5% purity of methane
14. Data acquisition - Ansett wheel data collector / converter with 3-hole slot, 6 1/2 digits (22 bits) Internal DMM, capable of 120 single-ended measurements or 48 double-ended measurements. Scan rate up to 250 channels / second, with 115k Porter RS232 and PCI GPIB interface. All readings are automatically recorded in time, there is a stable 50000 reading in memory
15. Tapered calorimeter software - Operating languages include English, French, German, Spanish and Japanese. The user interface is the windows operating system, with easy-to-use button operation, standard Windows data input, drop-down options, click to select, and switch. were able:
1). Display the instrument status.
2). Calibrate the instrument and store the calibration results.
3). Collect test data.
4) Calculate the required parameters.
5). Display the results according to the standard requirements.
6). Multiple tests take the average.
7). Data input to FDMS (Fire Data Management System) - Most European and US laboratories are available in the system format, and are available for different calorimeter data sharing between laboratories.
8). File output is CSV (comma split file) format, can quickly turn into a spreadsheet.
Optional configuration:
1, carbon dioxide and carbon monoxide - available NDIR gas analyzer.
2, hydrogen chloride - heating supply lines and gas analyzers.
3, controllable gas accessories - for low oxygen sample analysis.
4, the quality of loss of calorimeter.
5, FTIR toxicity tester.
6, the protection of the door - to protect the operator does not inhale toxic samples of smoke generated. Normal air can be entered from the bottom for normal test zone exhaust and test area intake. Steel plate to block the back, exhaust hood to block the top, the test door to block the bottom, the protection door just blocked the last side.
