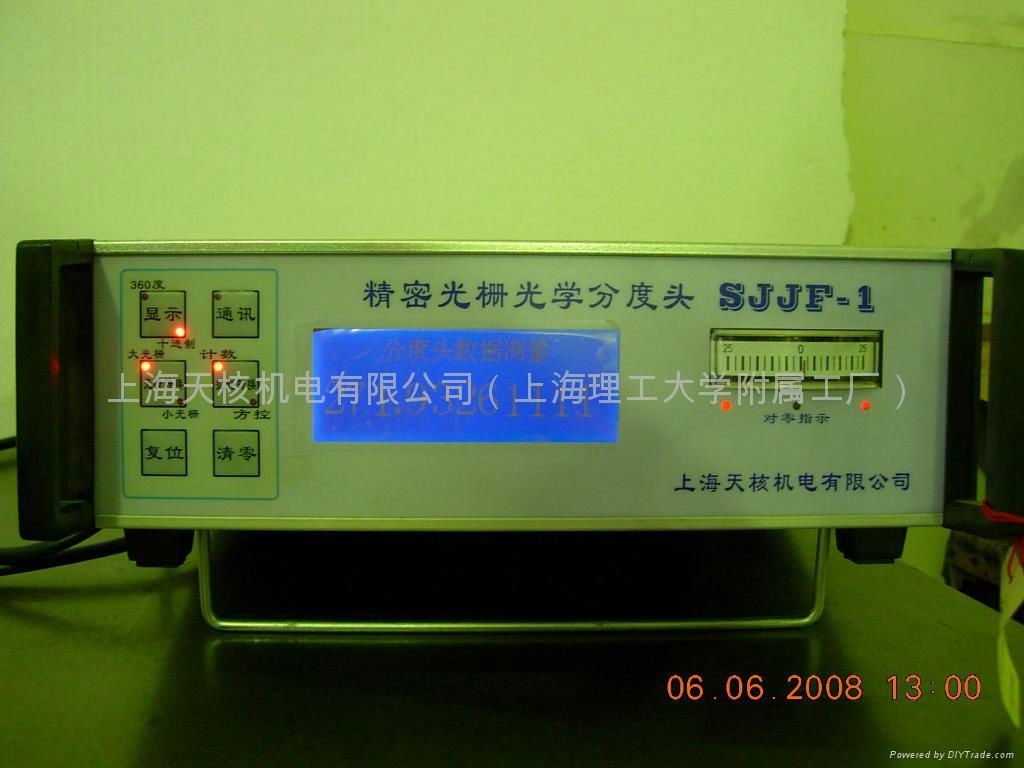
| Model: | SJJF-1 |
|---|---|
| Brand: | SHTH |
| Origin: | Made In China |
| Category: | Electronics & Electricity / Electronic Instrument / Other Electronic Instrument |
| Label: | 1" Digital Precision |
| Price: |
-
|
| Min. Order: | - |
Product Description
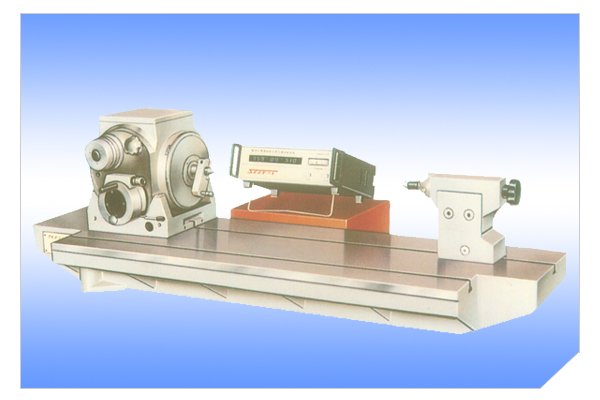
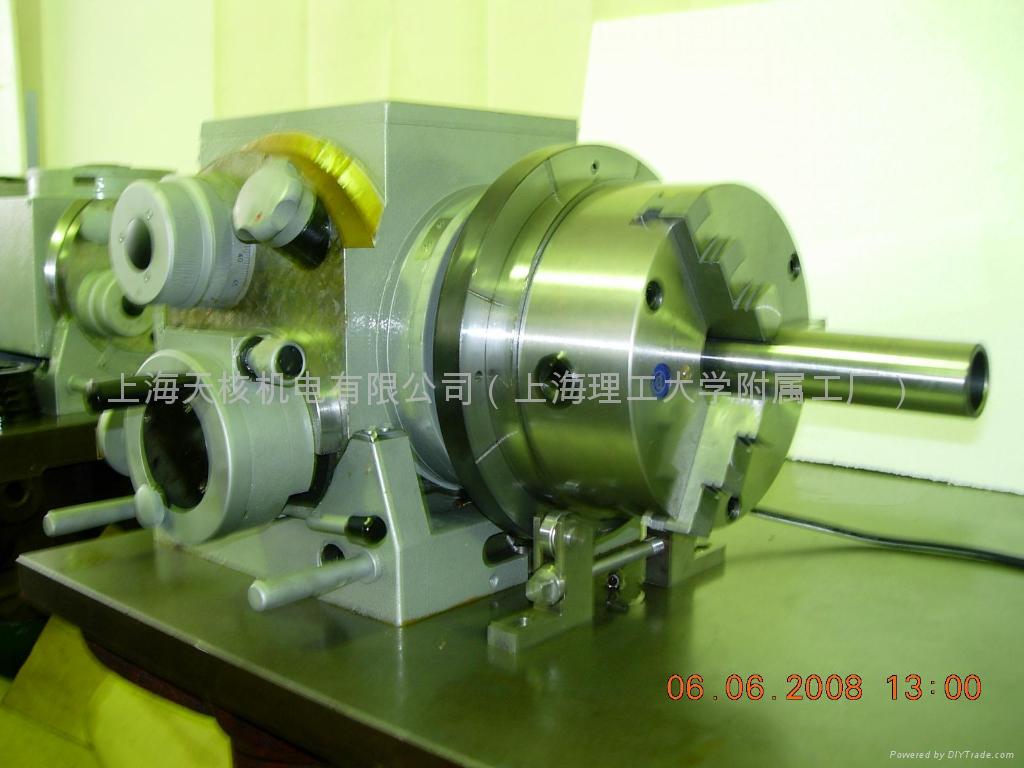
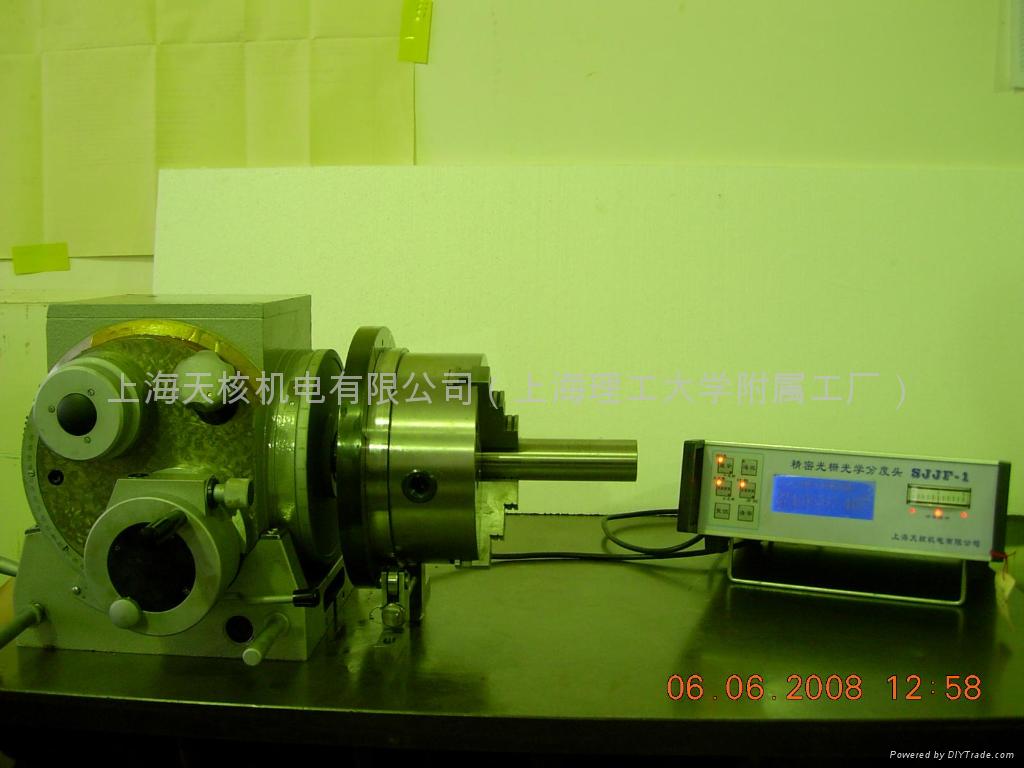
1" Digital Precision Optical Dividing Head
1. Applications:
The Digital Precision Optical Dividing Head is an angle measuring instrument which has been successfully developed in our institute after many year’s research, construction and tests. It has a very high resolving power for reading, hence a satisfactory measuring accuracy less than 1"is ensured. It is specially suitable to the place where other kinds of instruments are unable to be used, for example, it can be used to measure high precision compasses, mechanical-electric parameters on precisely controlled motors, various kinds of round inductosyn and dividing templates etc. A high precision grating is adopted as an analoque-digital converter, so that its optical-electric out put signal has a rather large amplitude and is very stable. In combination with a proper generator it can carry out continuous dynamic measurements. It is an ideal instrument for factories or research institutes where many kinds of angle measurements are needed.
2. Technical Data
No. Contents Specifications Unit
1. Minimum resolving power 0.1 Second
2. Maximum indicative error <1 Second
3. Reading manner Direct digital indication
4. Zero adjusting manner Optional choice (increment system)
5. Height of centre line of spindle 160 Mm
6. Tilting position of spindle From horizontal to vertical position, optional choice
7. Reading manner of tilting position Nonius reading (range 0~90°)
8. Minimum resolving power of tilting position 1′ Minute
9. Maximum permissible load of spindle (radial, axial) 40 Kg
10. Conical hole of spindle Morse taper 4″
11 Maximum frequency response of spindle revolution Limited speed of spindle<0.5 R.P.S
12. Working voltage 220V±10%
13. Ambient temperature and its change rate 20°±3°C, change rate 1°/h
3. Working principle
1" Digital Precision Optical Dividing Head takes a high precision grating disc as analoque-digital converter. The grating disc is made of high quality optical glass. After precise machining there are 21600 lines with equal spacing on plane surface. The diameter error of optical grating is ≤0.4″(peak-peak) and the fluctuation of direct current component is <2%.
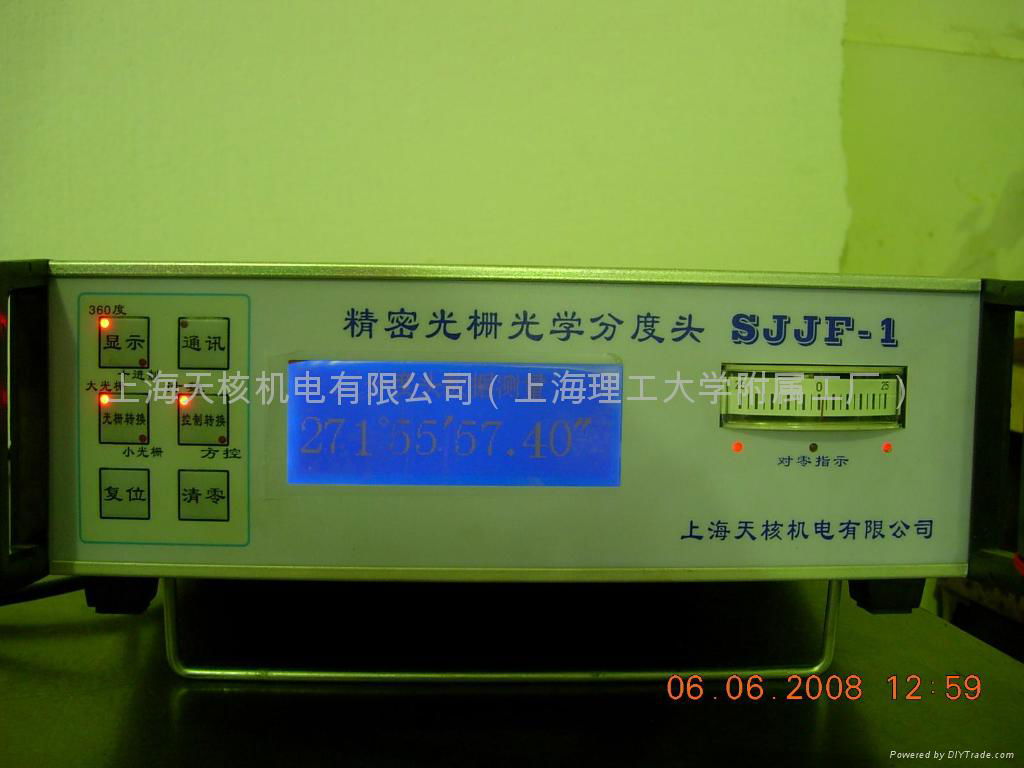
We put two reading heads of equal sensitivity A.B diametrically on the round optical grating disc to raise the ability of justifying eccentricity. Both reading heads are illuminated with the same lighting (see fig 1). Connect out put on both ends to zero adjusting meter. While the out put voltages on reading heads of optical grating A.B are equal, for example, at the positions A,B,C,D,E in fig. 2, the pointer of zero adjusting meter points to zero. The above mentioned zero position o appears twice in every scale interval, therefore the zero points at B,C,F of half period must be taken off. For the purpose a reading head C for controlling direction is arranged. In combination with signals from the reading heads A and B it controls an adder-subtracter and simultaneously illuminates both indicating lamps in the zero adjusting meter. Only while the indicating lamps burn and the pointer of zero adjusting meter points to zero, we may say that it reaches the basic state of correct setting. After that the out put signals from the optical grating are amplified, rectified and differentiated, then they will be converted into digital impulse; through cording it appears as angle value for direct reading. (for example:315°57′42.3")
The instrument adopts a mechanical subdividing device which is developed by ourselves. It based on the principle that the deformation of metal is proportional to the acting force within the elastic limit of deformation. We have developed an elastic micrometric device to subdivide interval of reference points for adjusting zero position of both optical gratings on optical grating disc. With the help of a small optical grating in the above mentioned device the minimum high resolving power of digital indication reaches to 0.1″(if the device is used to measure with interference method its subdividing accuracy reaches to 0.2″), thus it is more superior than any other electrical subdividing methods.
4. Accuracy
Test items Accuracy
1. Indicating error 1″(peak-peak)
2. Stability of indication (repeatability) 0.2″
3 Alignments of the conical hole axis to the spindle revolving axis 0.0015/100mm
4. A centre is inserted into the conical hole of the spindle, the turning deflection on centre point (60°) 0.0015/100mm
5. Axial turning deflection of the spindle 0.001mm
6. Change of indication while the spindle is clamped 1″
7. Reading error on the nonius for adjusting spindle tilting angle ±3′
8. Unevenness of working table a. straightness: <0.01/100mm
b. twist: <0.01/100mm
c. eveness: 20 points/25mm2
5. Completeness
Name Piece Dimensions mm Weight
1. Main body of optical dividing head 1 335×370×310 65kg
2. Digital indicating box 1 340×320×115 5kg
3. Working table bed and its three supporting parts 1set 1300×350×245
4. Tailstock with its centre 1set
5. Part for adjusting concentricity of the front and back centers 1set
6. Face plate of the dividing head 1set
7. Special spanner for adjusting dividing head 1set
Member Information
| Shanghai Tianhe Mechanical and Electrical Co.,Ltd | |
|---|---|
| Country/Region: | Shang Hai - China |
| Business Nature: | Manufacturer |
| Phone: | 13601964403 |
| Contact: | Chen Weibin (Vice General Manager) |
| Last Online: | 27 Jun, 2023 |
